The Art of Contouring and Highlighting: Enhancing Your Features with Makeup
Contouring and highlighting are transformative techniques in the world of makeup. They allow us to sculpt and enhance our facial features, creating a beautifully defined look. The art of contouring involves strategically shading and defining certain areas of the face, while highlighting brings light and radiance to specific areas. In this blog, we will delve into the intricacies of contouring and highlighting, exploring various techniques and products to help you master this art form. Whether you’re a beginner or a seasoned makeup enthusiast, join us on this journey to unlock the secrets of enhancing your features with the power of makeup.
Understanding Contouring and Highlighting Techniques
Contouring and highlighting techniques involve the strategic use of makeup to create shadows and light on the face. By understanding the principles behind these techniques, you can enhance your natural features and create a more sculpted look.
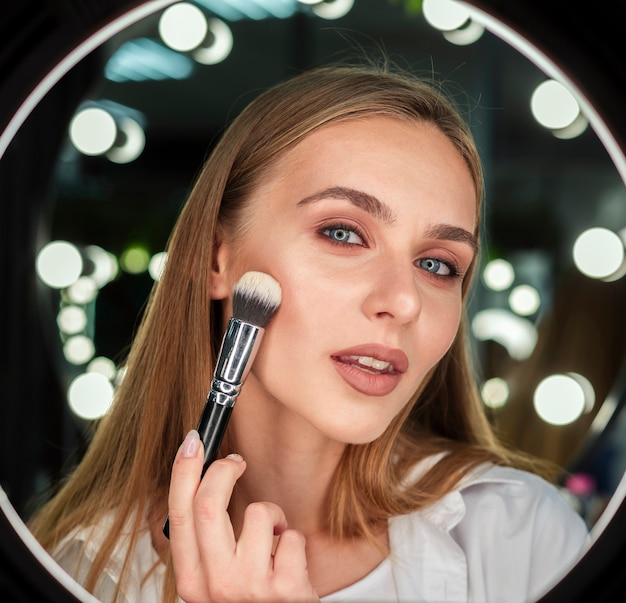
Face Contouring: Creating Definition and Structure
Face contouring involves using contouring products to shape and define specific areas of the face, such as the cheekbones, jawline, and nose. By strategically applying contouring shades, you can create the illusion of higher cheekbones, a more refined jawline, and a slimmer nose.
Enhancing Your Features with Highlighting Makeup
Highlighting makeup is a key component of the contouring and highlighting process. It involves using lighter shades to bring forward certain areas of the face, such as the cheekbones, brow bone, and cupid’s bow. Highlighting adds radiance and luminosity, giving your face a youthful and fresh appearance.
Choosing the Right Contouring Products
Selecting the right contouring products is crucial for achieving a seamless and natural-looking contour. Consider factors such as your skin tone, texture, and the intensity of the contour you desire. Opt for matte contouring products that blend easily and complement your complexion.
Contouring for Beginners
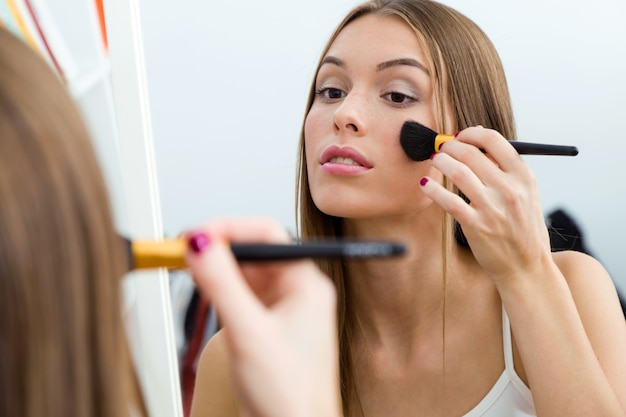
If you’re new to contouring, don’t be intimidated. Start with a light hand and gradually build up the intensity. Use a contouring brush or sponge to blend the product seamlessly into your skin. Practice different techniques and experiment with different product formulations to find what works best for you.
Mastering Highlighter Application
Highlighter can instantly transform your makeup look by adding a luminous glow. Apply it to the high points of your face, such as the cheekbones, bridge of the nose, and cupid’s bow. Use a fan brush or your fingertips to blend the product for a natural, lit-from-within radiance.
Understanding Natural Contouring Techniques
Contouring is the process of creating shadows and depth on the face, allowing you to sculpt and define specific areas. Natural contouring techniques involve using shades that mimic natural shadows, ensuring a subtle and realistic result. To achieve this, opt for matte bronzer or contouring powders that are just a shade or two darker than your skin tone. Apply the product strategically to areas such as the hollows of your cheeks, temples, jawline, and sides of the nose. Blend the product thoroughly for a seamless finish.
Contouring and Highlighting Tips
Prep your skin: Before starting the contouring process, ensure your skin is well-moisturized and prepped with a primer for a smooth canvas.
Choose the right tools: Use a fluffy, angled brush for contouring and a smaller brush or sponge for highlighting. These tools allow for precise application and blending.
Blend, blend, blend: The key to achieving a natural look is thorough blending. Use gentle, circular motions to blend the contour and highlight products seamlessly into the skin, avoiding any harsh lines.
Gradual build-up: It’s easier to add more product if needed than to remove excess. Start with a light hand and gradually build up the intensity until you achieve your desired effect.
Best Contouring Products
Contouring powders: Look for matte contouring powders that match your skin tone. Popular options include the Fenty Beauty Match Stix Matte Skinstick and the Anastasia Beverly Hills Contour Kit.
Cream contour products: Cream-based contours offer a more natural finish and are ideal for dry or mature skin types. The Kevyn Aucoin The Contour Book Volume II and the NYX Professional Makeup Wonder Stick are excellent choices.
Bronzers: For a subtle, sun-kissed contour, opt for a matte bronzer. The Benefit Hoola Bronzer and the Physicians Formula Butter Bronzer are highly recommended.
Contouring for Different Face Shapes
Oval face: Focus on enhancing your cheekbones by applying contour just below them, blending towards the hairline.
Round face: Create the illusion of a more sculpted face by applying contour along the temples, under the cheekbones, and along the jawline.
Square face: Soften angular features by contouring the sides of the forehead, the jawline, and the outer edges of the face.
Heart-shaped face: Apply contour along the temples, under the cheekbones, and blend downwards to minimize the width of the forehead.
Highlighting for Fair Skin
Fair-skinned individuals can achieve a beautiful glow by using highlighters with subtle, light-reflecting pigments. Opt for champagne or pearl shades to complement your skin tone without appearing overly shimmery. Apply highlighter to the high points of your face, including the cheekbones, bridge of the nose, cupid’s bow, and the inner corners of the eyes.
Contouring and Highlighting Step-by-Step
Start with a clean, moisturized face: Ensure your skin is well-prepped by cleansing, moisturizing, and applying a primer that suits your skin type.
Choose the right contour shade: Select a matte bronzer or contour powder that is slightly darker than your skin tone. This will create natural-looking shadows and definition.
Identify the areas to contour: Find the hollows of your cheeks, temples, jawline, and sides of the nose. These are the areas where you’ll apply the contour product to create depth and structure.
Apply and blend contour: Use a fluffy angled brush to lightly apply the contour product to the identified areas. Start with a small amount and gradually build up the intensity, blending it seamlessly with circular motions for a natural finish.
Choose the perfect highlight shade: Select a highlighter that complements your skin tone. For fair skin, opt for pearl or champagne hues. For deeper skin tones, consider golden or rose gold shades.
Highlight the high points: Apply the highlighter to the high points of your face, including the tops of your cheekbones, bridge of the nose, cupid’s bow, and the inner corners of the eyes. Blend it gently for a luminous glow.
Contouring and Highlighting Tutorials
To truly master contouring and highlighting, it’s essential to practice and learn from detailed tutorials. Online platforms, such as YouTube and beauty blogs, offer an abundance of step-by-step tutorials. Watch renowned makeup artists and influencers demonstrate their techniques, and adapt their methods to suit your face shape and desired outcome. Remember, practice makes perfect!
Contouring for Mature Skin
Contouring is not limited to young faces; it can work wonders for mature skin as well. Here are some tips to achieve a natural and youthful appearance:
Use cream-based products: Cream contours blend seamlessly into the skin, avoiding any emphasis on fine lines or wrinkles. Look for creamy contouring sticks or palettes specifically designed for mature skin.
Focus on targeted areas: Rather than applying contour all over, focus on specific areas that you’d like to define or lift, such as the cheekbones or jawline. This creates a subtle yet effective contour without overwhelming the face.
Light-handed application: Use a light touch when applying and blending contour products. Gentle and precise blending will create a seamless look without emphasizing texture.
Emphasize hydration: Prioritize skincare to ensure your skin is well-hydrated. A well-moisturized base will enhance the overall appearance of your contouring and highlighting.
Celebrities’ Contouring and Highlighting Tips
Celebrities often have access to top-notch makeup artists who excel in contouring and highlighting. Here are some tips inspired by their techniques:
Blend for a seamless finish: Take inspiration from celebrities like Kim Kardashian and blend your contour and highlight products meticulously for a natural, airbrushed appearance.
Customization is key: Experiment with different shades and techniques to find what works best for your unique features. Celebrities like Jennifer Lopez emphasize the importance of customizing the process to suit individual face shapes.
Enhance your best features: Pay attention to your natural assets and use contouring and highlighting to emphasize them further. For instance, if you have stunning cheekbones, focus on enhancing them with contour and a subtle highlight.
Contouring and Highlighting Palettes
Investing in a versatile contouring and highlighting palette can simplify your makeup routine and provide an array of options. Some popular palettes include:
- Anastasia Beverly Hills Contour Kit
- Fenty Beauty Match Stix Trio
- Huda Beauty 3D Highlighter Palette
Contouring and highlighting have the ability to elevate our beauty routine to new heights. Through careful shading and precise application, we can accentuate our best features and achieve a flawless, sculpted look. By incorporating the techniques and tips shared in this blog, along with using high-quality contouring and highlighting products, you can confidently embrace the art of enhancing your features with makeup. Whether you prefer a natural, everyday look or a glamorous, red carpet-worthy transformation, the power to define and radiate lies within your hands. So, experiment, practice, and let your creativity soar as you embark on this beautiful journey of contouring and highlighting. Remember, it’s not just about the makeup; it’s about celebrating and embracing your unique beauty.

