
Discover the secrets to perfect skin with our beginner's guide to at-home facials and skincare
In today’s fast-paced world, taking care of ourselves can often fall by the wayside. However, our skin is an important part of our overall health and well-being. Incorporating a regular skincare routine can help us maintain healthy, glowing skin. And what better way to do that than by indulging in at-home facials?
At-home facials are a great way to give your skin some much-needed TLC without having to break the bank or schedule an appointment at a spa. With the right tools and techniques, you can achieve a complexion that rivals that of a professional facial. Plus, by doing it at home, you can control the ingredients and tailor your routine to your individual skin concerns.
In this beginner’s guide to at-home facials and skincare, we’ll cover everything you need to know to get started on your journey to perfect skin. From understanding your skin type to selecting the right products and tools, we’ll walk you through each step of the process. So, let’s dive in and discover the secrets to achieving a flawless complexion from the comfort of your own home.
Step 1: Cleanse
The first step in any skincare routine is cleansing. Start by removing any makeup with a gentle makeup remover or cleansing oil. Then, use a cleanser that’s suitable for your skin type to remove any remaining dirt, oil, and impurities. It’s important to use a gentle, non-stripping cleanser that won’t disrupt your skin’s natural barrier.
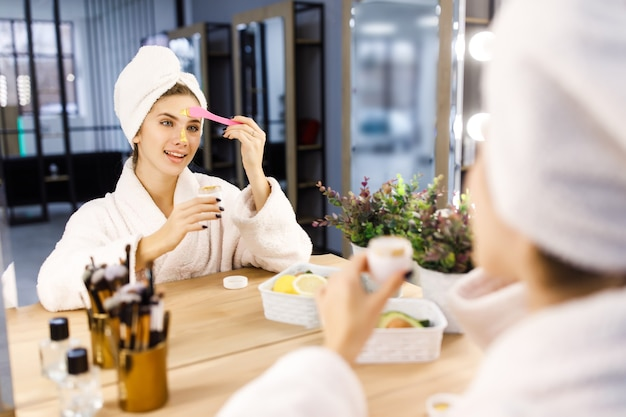
Step 2: Exfoliate
Exfoliation is an important step in any skincare routine as it helps to remove dead skin cells and promote cell turnover. There are a variety of different exfoliating products available, including scrubs, peels, and masks. Choose an exfoliator that’s appropriate for your skin type and use it once or twice a week to avoid over-exfoliating.
Step 3: Steam
Steaming your face is a great way to open up your pores and allow skincare products to penetrate deeper into the skin. You can use a facial steamer or simply boil water and pour it into a bowl, then hold your face over the steam for a few minutes. Be careful not to get too close to the hot water and avoid steaming for too long to prevent skin irritation.
Step 4: Mask
Applying a face mask is one of the most relaxing parts of an at-home facial. There are many different types of masks available, including clay masks, sheet masks, and overnight masks. Choose a mask that targets your specific skin concerns, such as hydration, brightening, or acne. Leave the mask on for the recommended time, then rinse off with warm water.
Step 5: Moisturize
After removing your mask, it’s important to moisturize your skin to lock in hydration and nourishment. Choose a moisturizer that’s suitable for your skin type and apply it in gentle, upward motions. Don’t forget to apply sunscreen during the day to protect your skin from harmful UV rays.
In addition to these steps, there are other products you can incorporate into your skincare routine, such as serums and facial oils. However, it’s important to keep in mind that everyone’s skin is different and may require different products and techniques. It’s always a good idea to do a patch test before trying out new products and to consult with a dermatologist if you have any concerns about your skin.
Conclusion
By following these basic steps, you can create an at-home facial and skincare routine that works for you. Not only will you be taking care of your skin, but you’ll also be treating yourself to a relaxing and rejuvenating self-care practice.